
Enablement of Lightning Cross Sell
You can enable the Lightning Cross Sell feature to display Lightning Carousel on the Lightning Community and Community Hub pages of your choice. This enhances the visibility of products and helps the organization to cross sell while the constituent is making a purchase.
Given below are few examples of Lightning Community/Community Hub pages on which you can add the Lightning Carousel, to display recommended products to constituents:
To enable Lightning Cross Sell, follow the below steps:
1. Activate Lightning Cross-Sell Tag
To activate LightningCrossSell tag from Custom Metadata records, follow the below steps:
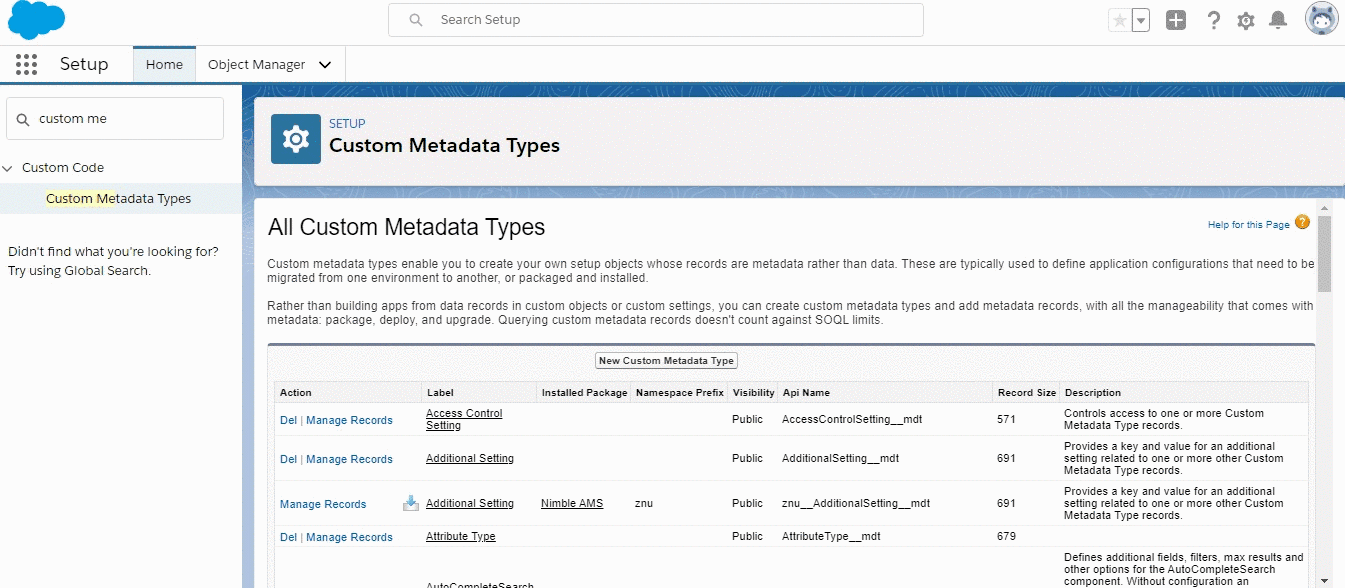
From Setup, enter Custom Metadata Types in the Quick Find box, then select Custom Metadata Types.
Click Manage Records next to the tag of Community Hub.
Click Edit next to the LightningCrossSell tag.
Select Is Active.
Click Save.
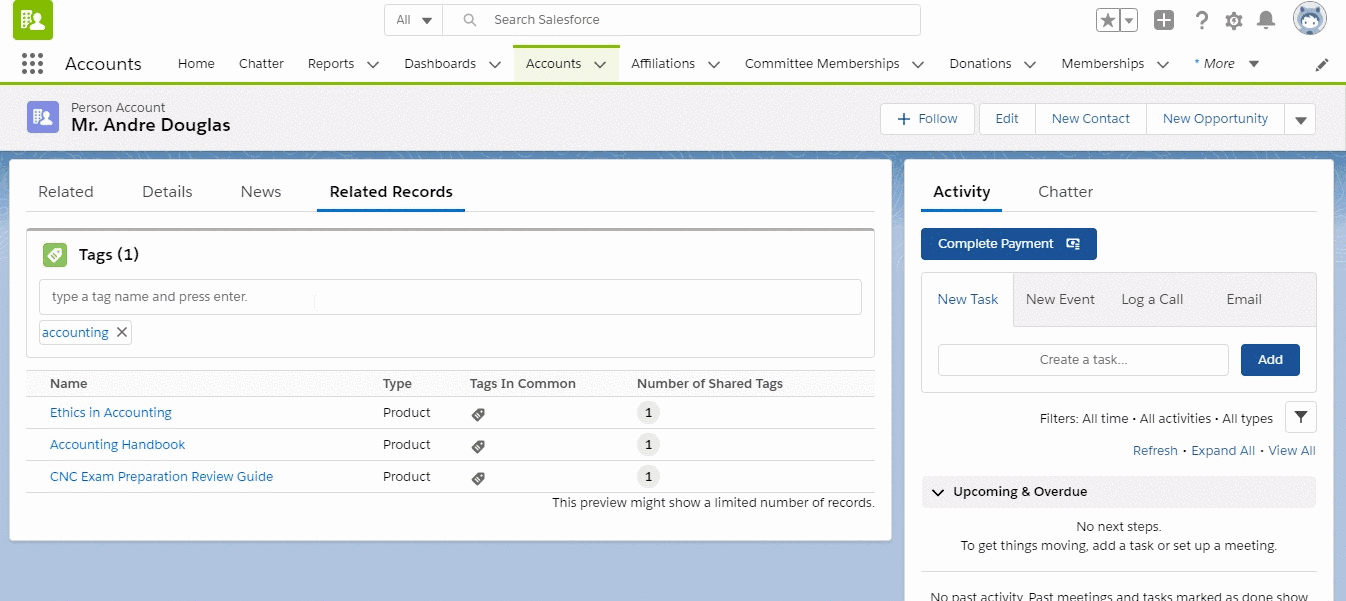
2. Add Related Records Tab to Objects
If working with objects other than Products, you must edit the page layout (external) and add Related Records tab to it. For example, you can add Related Records tab to objects like Accounts, Events, Membership Types. Product records contain this tab by default.
Configuration of Lightning Cross Sell
1. Add Record Tags to products or account
For setting the products to be shown as recommended products in the Lightning Carousel, you need to add same record tags to:
Account and Products: For products to show on Lightning Carousel, when LightningStoreCarouselDataSource is used.
Any two records of Product records, Events, Membership Types, or any other record: For products to show in Lightning Carousel when LightningProductDetailsCarouselDS is used.
For example, if you want to recommend products B, C, and D in the Lightning Carousel when A is being viewed, add the same tags as A to products B, C, and D.
2. Configure products to appear in Lightning Carousel
To make sure your products are ready to be seen in the Lightning Carousel, follow the steps given below:
From the app launcher, navigate to Products. Select and Edit your chosen product.
Verify your product has the following fields available on the page layout with the given selections (This will enable the logic to include this product in the default Data Sources). Add these fields if not present.
Table 1.0
Product Record Field | Value | Reason |
|---|---|---|
Status | Active | If |
Self-Service Enabled | True | If |
Entity | Matches your Community Hub Entity | This field allows the Lightning Store to sell products through the primary entity for your Community Hub. |
Can Not Be Sold Separately (predominantly applies to product variant feature) | Checked/Not Checked | If selected, the product can not be sold separately as an individual item and will not appear in the Lightning Carousel. If Product Variants is being used and the product is a child product, then we recommend you to select this checkbox to prevent the product from appearing in the Lightning Carousel. |
Custom Data Source shows all products
If you create your own data source, the products belonging to that data source will appear in the Lightning Carousel irrespective of the selections given in Table 1.0. For custom data sources, if required, filters given in Table 1.0 need to be added.
3. Update Object Display Configuration
Default Settings
Some default setting are already done here for you. This includes the setup for appearance of products in the Lightning Carousel, and the pages which the constituents will be redirected to when they click these products. If required you can update records in Object Display Configuration to suit your requirement.
The Object Display Configuration Custom Metadata Type is created to map the name and image of the product seen on the Lightning Carousel in Community Hub to related fields on Nimble AMS. Also, taking product type into account, this decides where the user will be redirected once they click a product in the Lightning Carousel.

Lets understand the purpose of different fields in Object Display Configuration taking Product record as an example:
Label: This is the Label or the display name for the Object Display Configuration.
Object: This is the name of the object for which this Object Display Configuration is created. For example,
Product [NU],Name Field: This is the field of the object selected above from which the name of the product shown on the Lightning Carousel will be taken. For example,
Product Name.Photo Field: This is the field of above selected object from which the image URL will be taken to display the product image on Lightning Carousel. For example,
Web Product Image URL [nu].Record Type: Enter the Record Type of Object. For example,
Merchandisefor Product Object, etc.PageURL: This is the URL of the page which the Community Hub user will be redirected to, on clicking the product on carousel. For example,
product-details?id={!id}will redirect the user to Product Detail page.
As an Administrator, if required, you can make changes to above fields as per your need. For example, if you want to change the fields from which the value for product name and image (in the Lightning Carousel) is taken, you can select those fields in Name Field and Photo Field, respectively. Also, you can change the PageURL the user will be redirected to after clicking a product or change the Record Type as per requirement.
4. Add a Lightning Carousel to a Lightning Store
If using visual force community, skip this step. Instead, add the Lightning Cross Sell Carousel Card Type to any Community Hub page to display a Lightning Carousel on it. To do this, refer to the recipe given in the next section.
In a Lightning Store or Lighting Community, you can add a Lightning Carousel to various pages, including the Lightning Store page and the Product Details Page. After adding the lightning carousel, you can configure the various properties of the carousel by clicking on it to open the configuration dialog. This dialog will allow you to configure which data source is used to display carousel items, which objects and record types are filtered and shown from the data source, how many items the Lightning Carousel displays per view, etc.
If using the Lightning Community, follow the below steps:
From Setup, go to All Sites.
Click Builder next to the Lightning Community.
As given in the prerequisites, if you have already set up a Lightning Community, Product Grid Filter and the Product Grid components will be present on the lightning store page.
3. Click Components icon and search for Cross Sell Carousel custom component.
4. Drag and drop cross sell carousel component on the page and then click the newly added Cross Sell section.
5. In top right corner, a configuration popup will appear. Enter the values given on properties of lightning carousel to set up the Lightning Carousel.
6. You can now click Preview on top right to see the preview.
7. After verification of preview, click Back button on the top and Publish.
And you're Done!
You should now be able to access the Lightning Carousel on Lightning Store page. To add the Lightning Carousel to Lightning Product Details page, go to this page on the builder and follow steps 3 to 7 there as well!
To see what you have configured, click on your community in All Communities page. The Lightning Carousel should be added to the Lightning Store as well as Product Details pages.